Deep Renovation (Couch,Kikuyu & Zoysia)
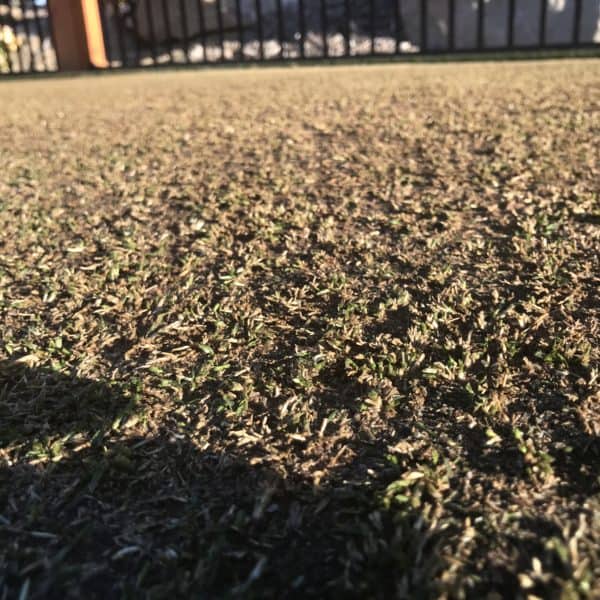
Deep Lawn Renovation, Couch/Bermuda, Kikuyu & Zoysia lawns
The main purpose of deep lawn renovation is to remove excess thatch (organic build-up) and stimulate fresh, healthy growth. Renovation must be done when the growing conditions suit your specific grass type to ensure recovery and optimal results.
Pre Renovation Preparation.
Hopefully you have been conducting a winter maintenance schedule, to pull the hand brake on dormancy. This would be spoon feeding some nutrition during the cooler months just to keep things ticking along. This must be done with a liquid applied to the leaf. Any nutrition applied to the soil this time of year will be wasted as the roots will not be taking it in. This is where Fertech Fusion is invaluable, stimulating the grasses natural process to just hold it out of dormancy.
The key timing for warm season grass renovation is soil temperature. Warm season grasses thrive at temperatures between 20˚C – 32˚C with optimal been 27˚C+. Warm season grasses start to “shut down” at about 16˚C soil temperature and are usually dormant at 14˚C. This is the reverse when we are looking to wake them up, we usually recommend waiting until 16˚C- 18˚C soil temperature before commencing a renovation.
Before commencing the deep renovation, ensure that you have all your fertiliser, soil amendments, top-dress material (if you do it) and equipment ready to go. Nothing worse than been ready but not having anything ordered.
RENOVATION
Now onto the renovation itself. It can be quite daunting if you haven’t done it before. And it will feel wrong, but it is all for the best.
How to do a lawn renovation:
- Scalp
This is a very low mow, to the dirt or very nearly to the dirt. This removes a lot of old growth and even some thatch. You want to go below your ideal finishing height. - Dethatch/ scarify.
This is the process of vertical cutting, depending on how deep you want to go. This will rip up most of the remaining thatch and cut the rhizomes and stolons (runners) encouraging them to repair and grow. Do this in at least 2 directions to avoid a clumping finish. - Aeration
This time of year, it is worth pulling cores, this will remove the last bit of thatch. And allows for better access to the soil for water, nutrients and potentially new soil to come in. You can either remove the cores or mulch them back in with a rotary mower. If you don’t want to pull cores, you can simply solid tine to aerate. - Soil Amendments.
Now that the soil is open this is your chance, if doing so, to get some soil amendments in. Changes to pH, any nutrient deficiencies, can all be addressed here. - Top Dressing
Now is the time to bring new soil in if you are. Fill in the aeration holes and address any low spots. No more than 10-15mm should be applied. Again, the more you do the longer recovery will take.
NOTE steps 4 & 5 are interchangeable. - Watering and Fertiliser.
The fun part! This is where we can apply our granular renovation fertiliser, such as 2spec Accelerate. And apply our Liquid soil amendments in the Ultimate Soil Amendment Pack and water them all in together.
Renovation after care.
In the week, immediately following the renovation, apply lots of little watering cycles, to keep the top damp, this will help relieve stress and allow the lawn to bounce back. Once we see it starting to come good, we can back the watering to our normal routine.
At about the 4–6-week mark after renovation is the last step of the process. And that is when the renovation fertiliser has run out of steam, and it is time to back it up. With our normal maintenance fertiliser, the choice depends on if you have a longer lawn or a shorter lawn.
