Maintaining you’re Calibrated Hose On Sprayer
By now you’ve used your applicator many times, it might need a clean depending on the types of products you are using. Looking after your Applicator is simple as following a few steps.
The handgun only requires the occasional “O” lubricant on the brass sliding plunger near the handle and on the brass couple to ensure smooth operation.
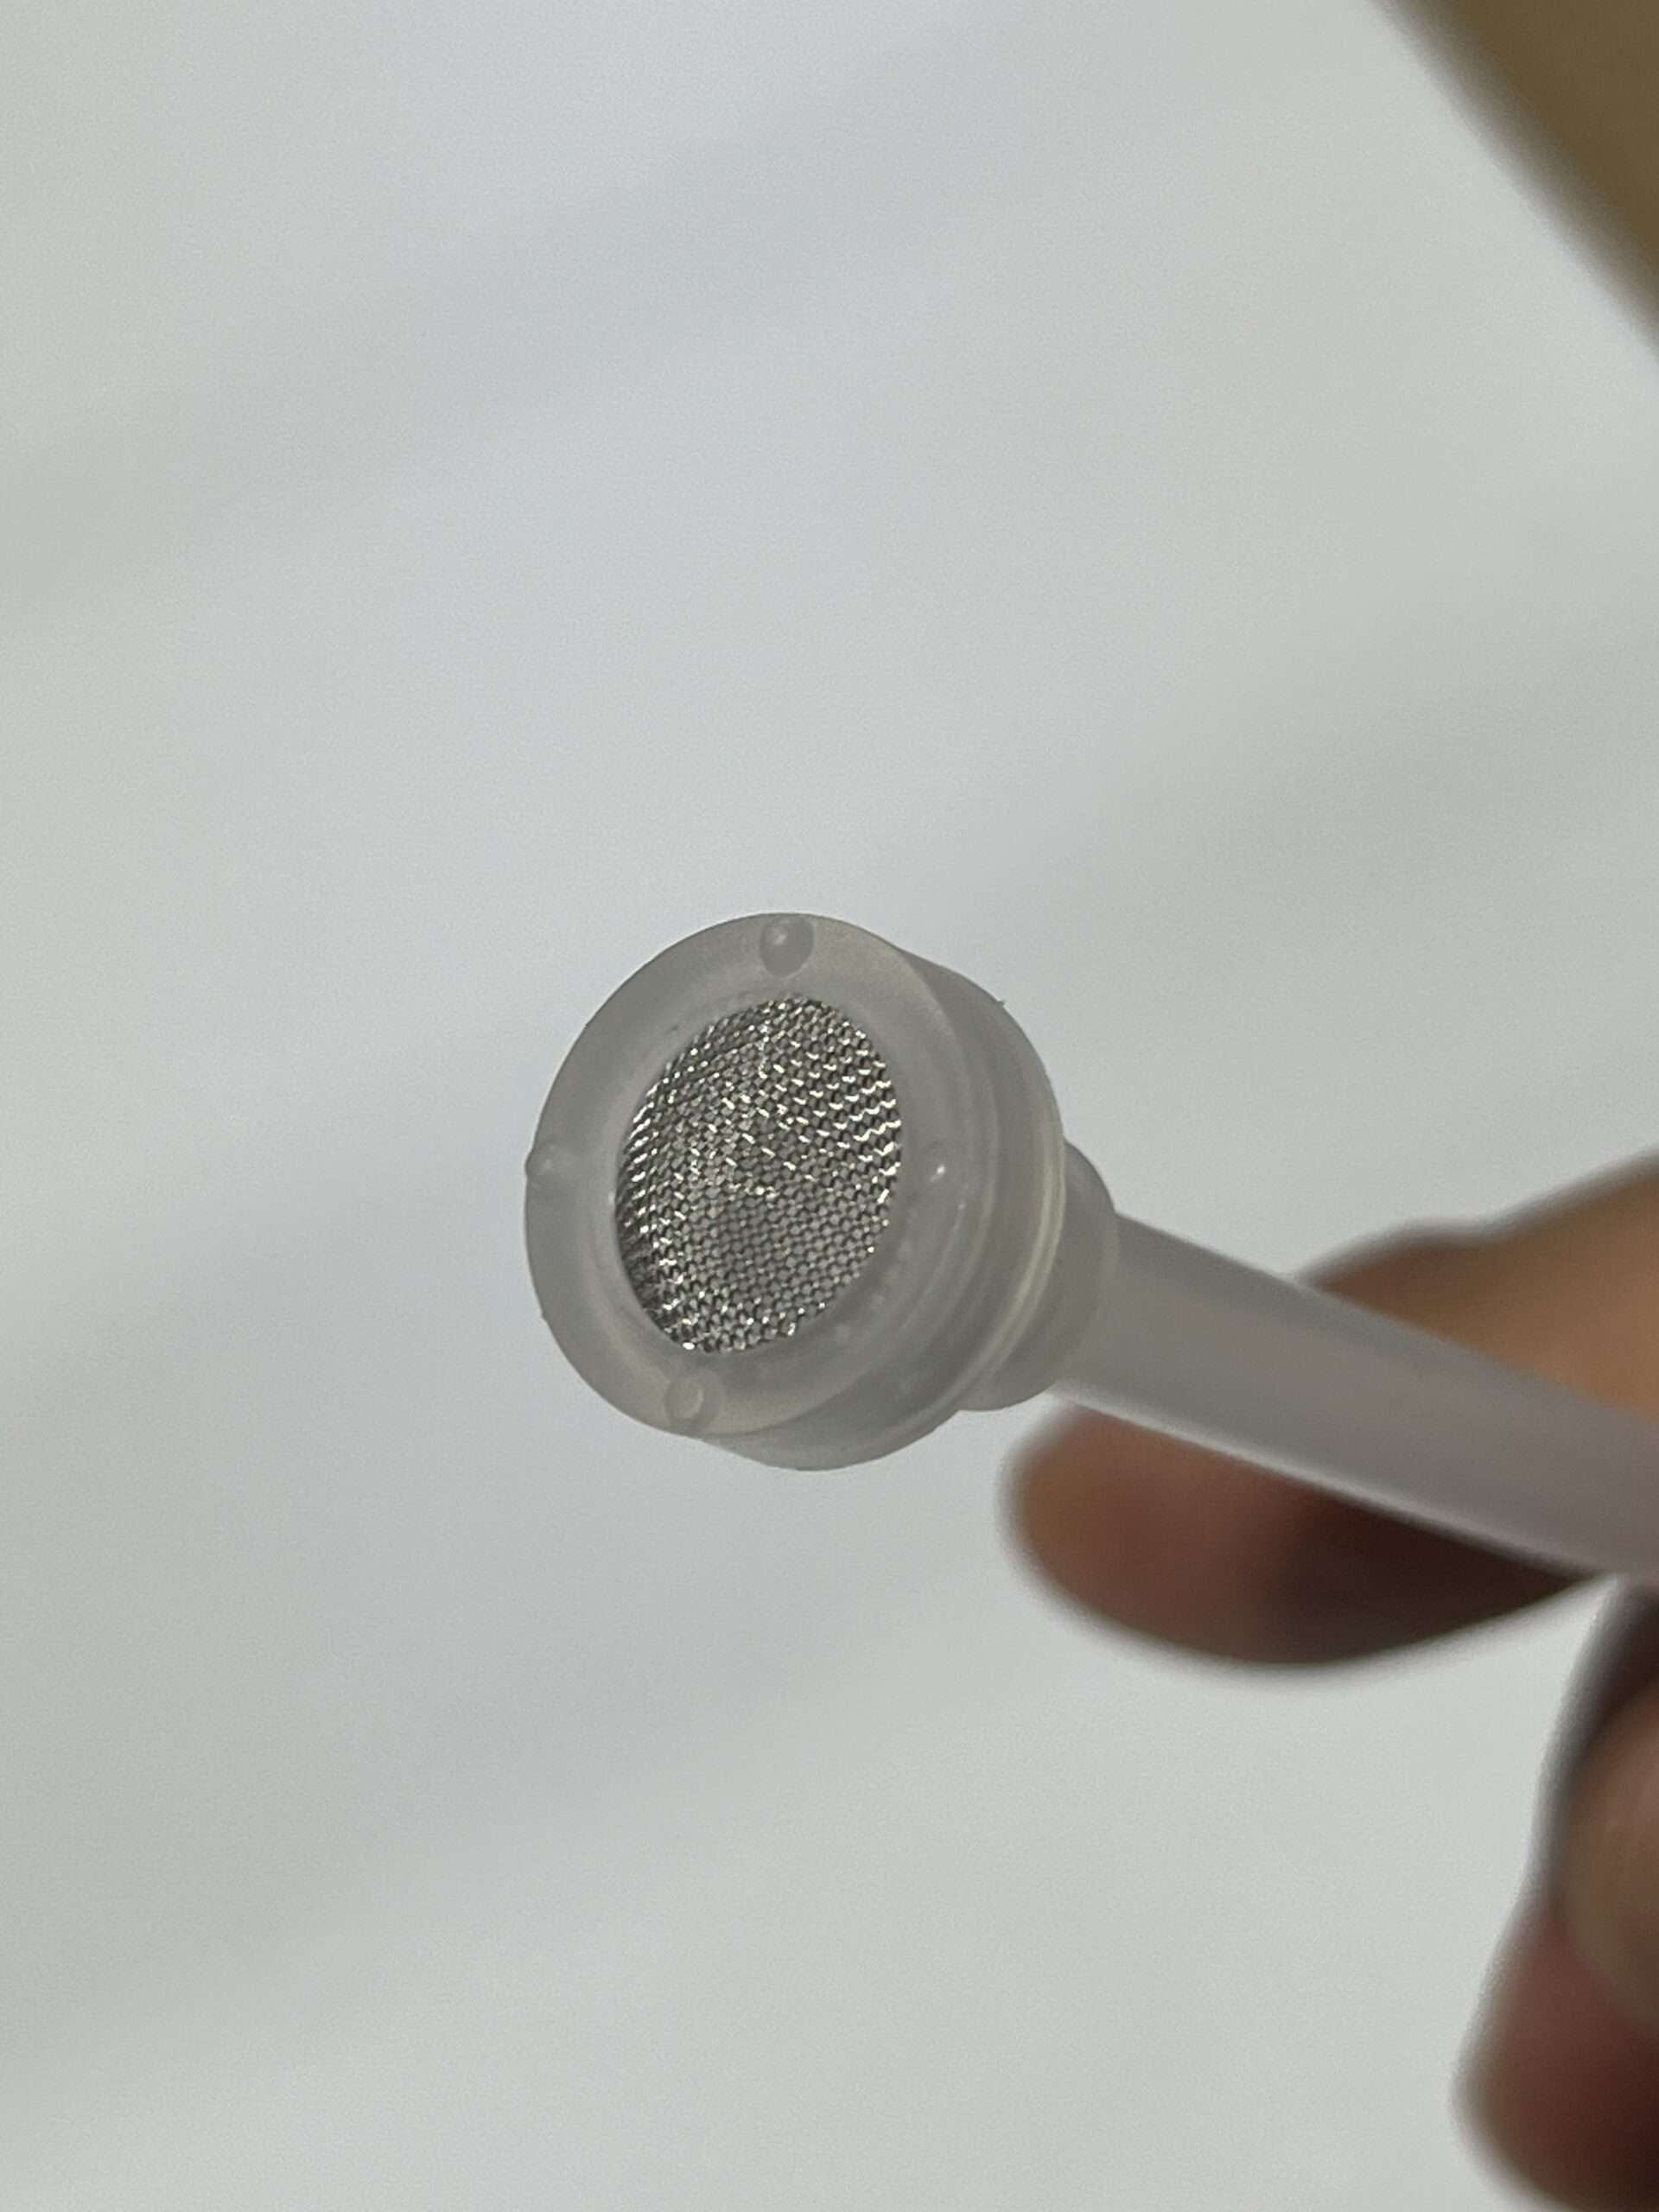
With the applicator regular cleaning of the assembly, reservoir/bowl and stainless-steel mesh filter with rinsing and if needed with a soft brush is required.
In case additional cleaning is needed below are some images and tips to familiarise you with the workings and process of the sprayer.
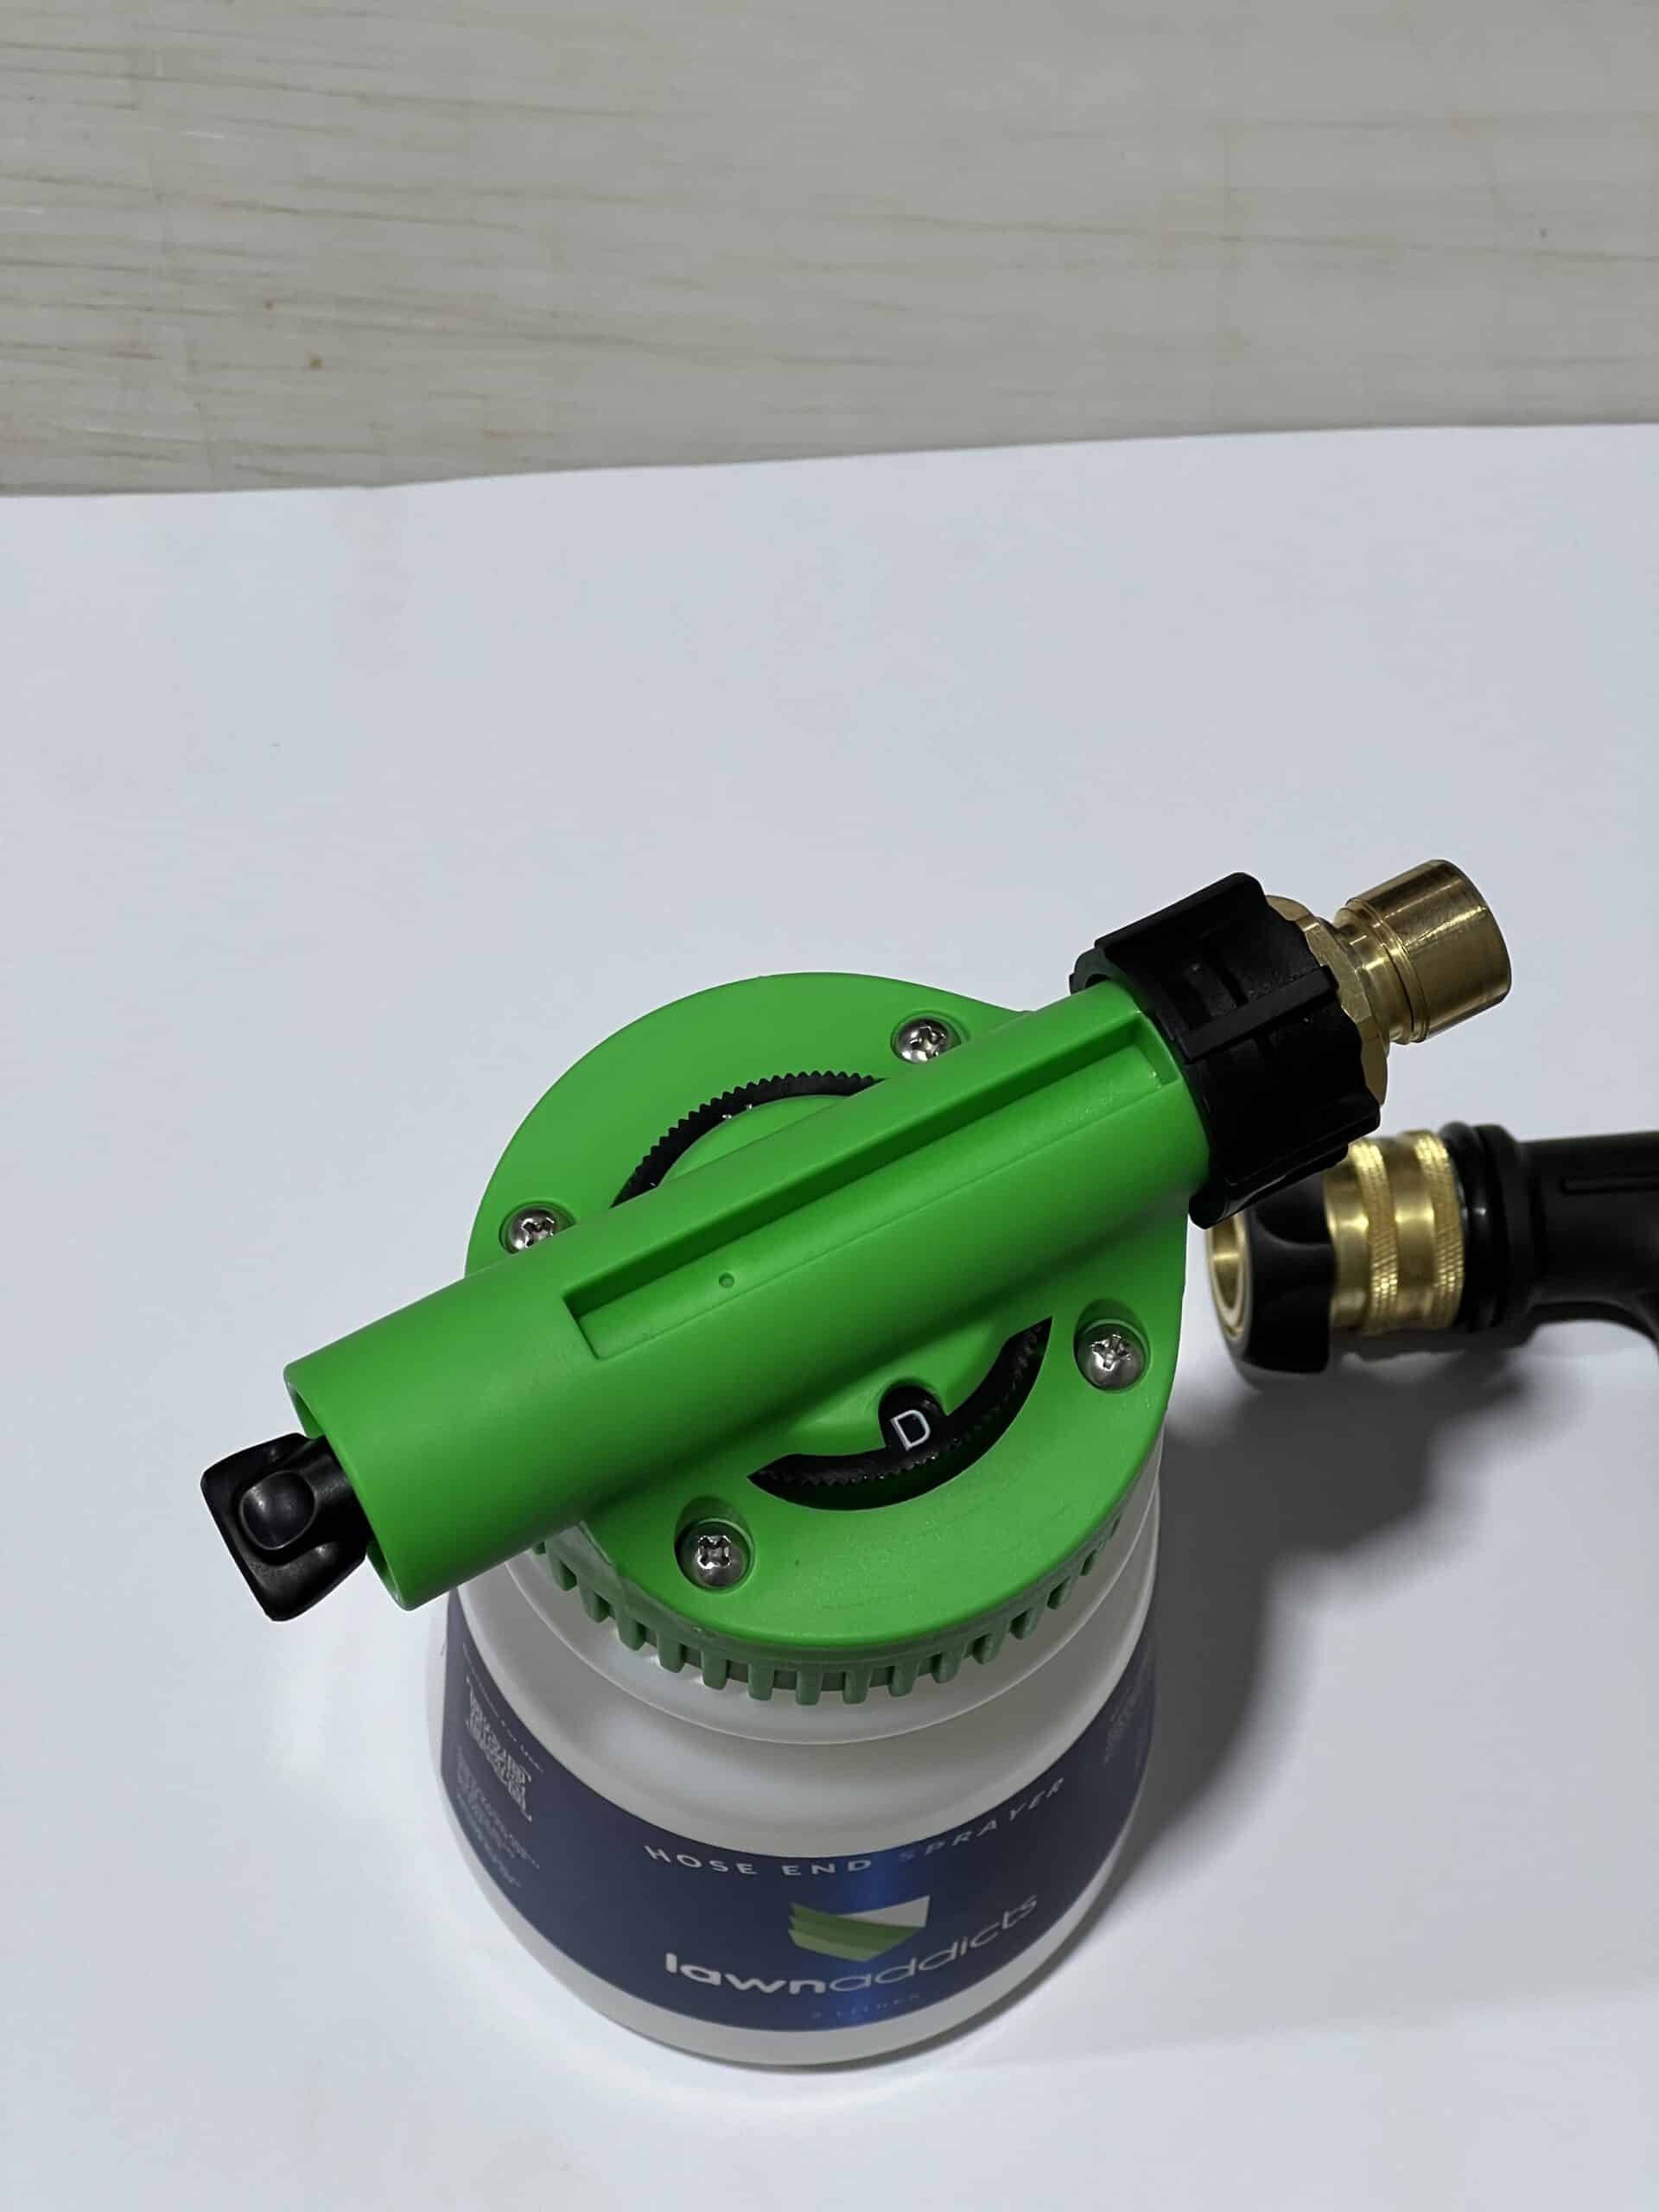
Using a Philips Head screwdriver, remove the Stainless steel screws, and carefully separate the top from the bottom.
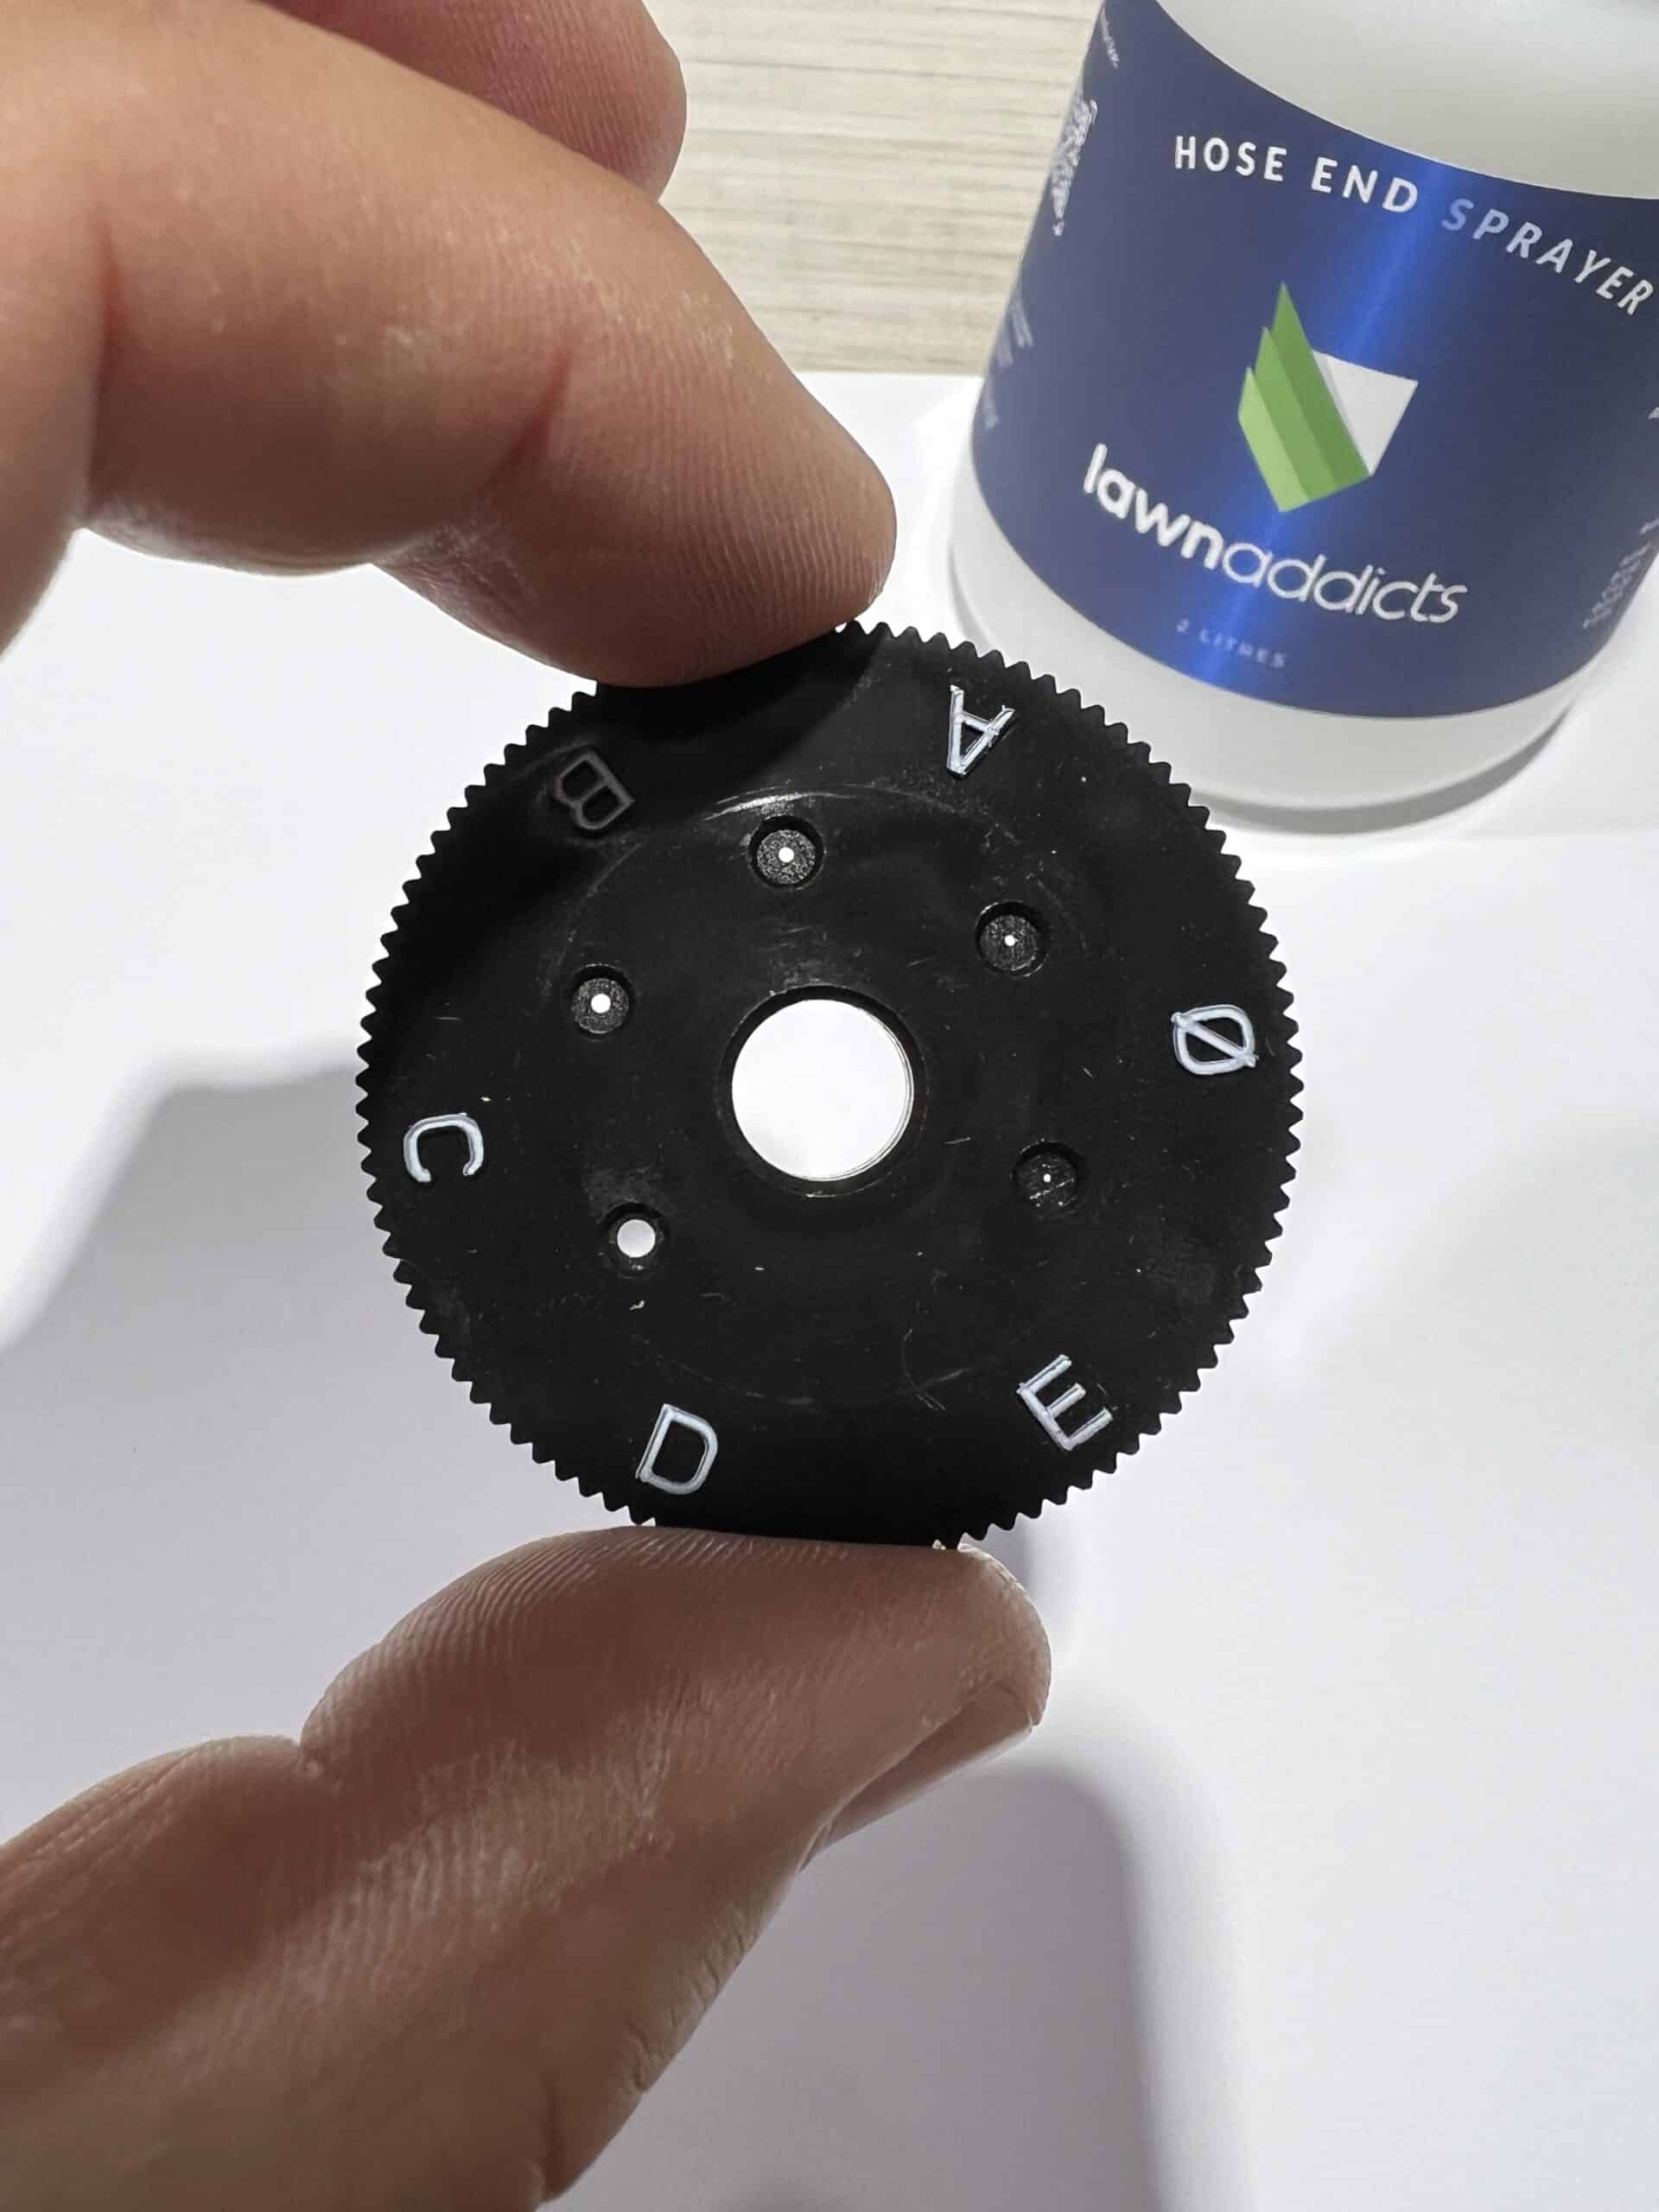
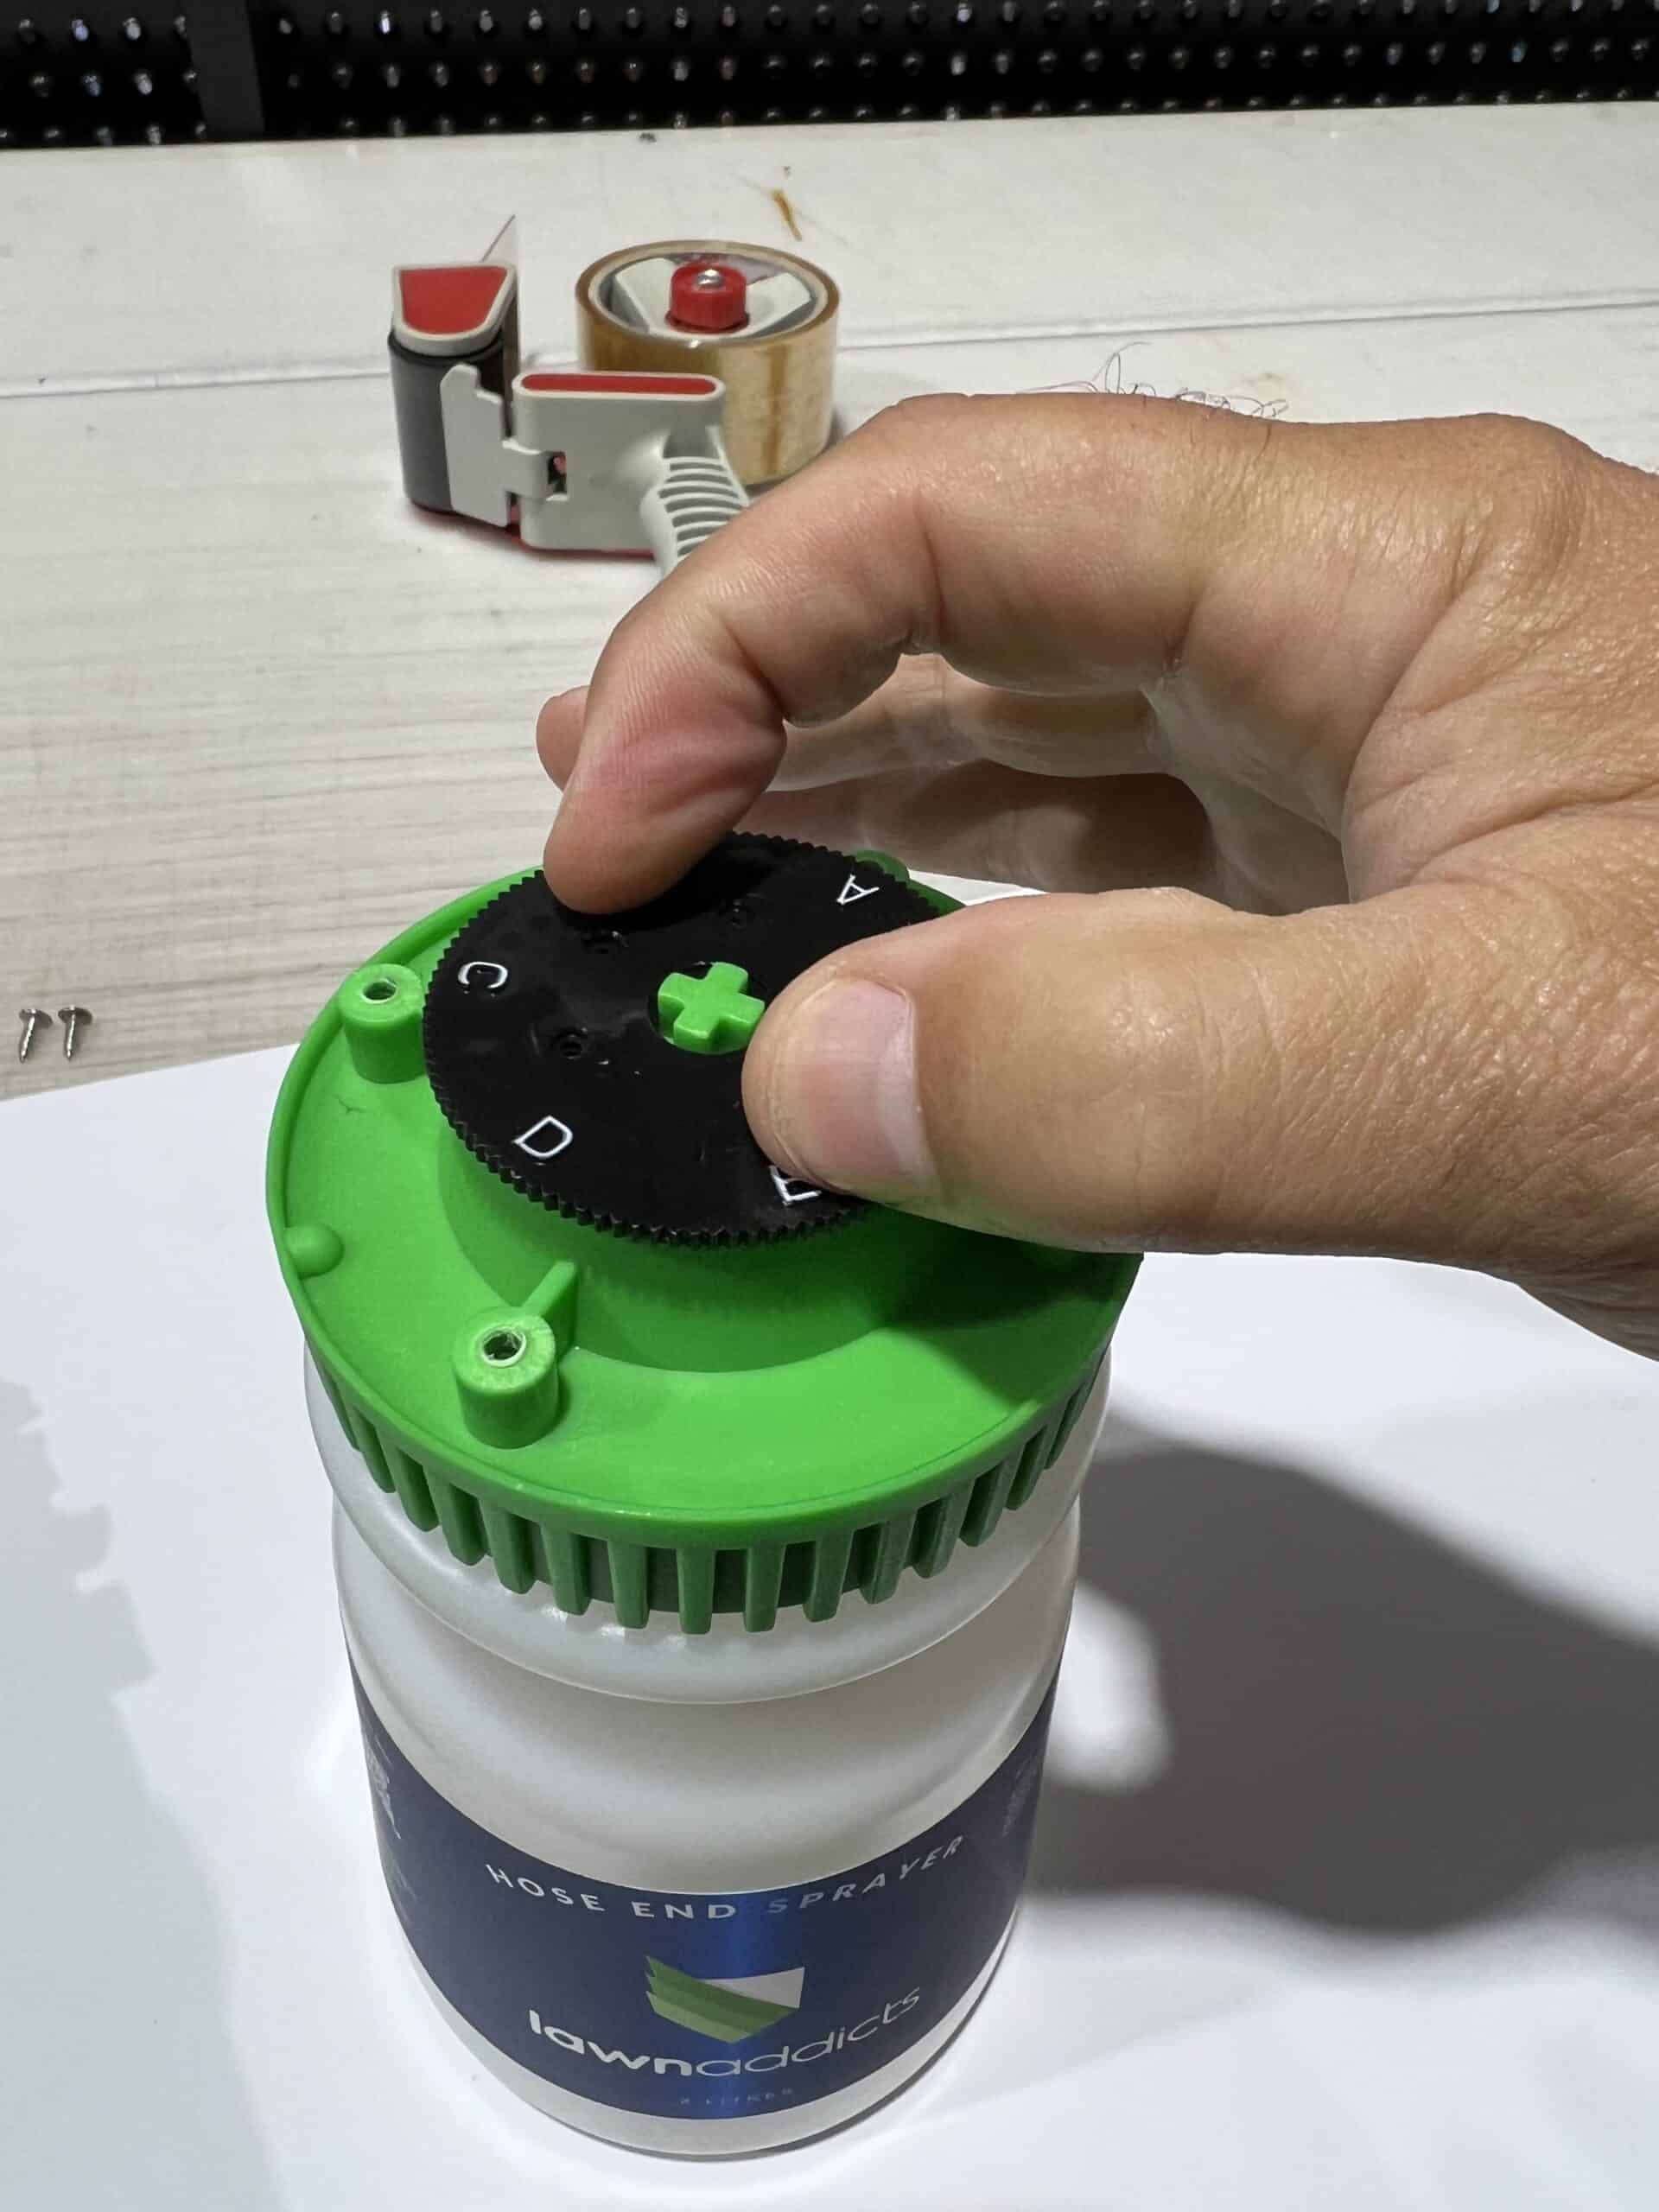
The adjustment dial normally comes off with the top of the assembly. Remove it and gently ensure each of the orifice’s are clear from any blockages or build up.
Be careful not to lose the small ball and spring, it locks the position of the adjustment dial.
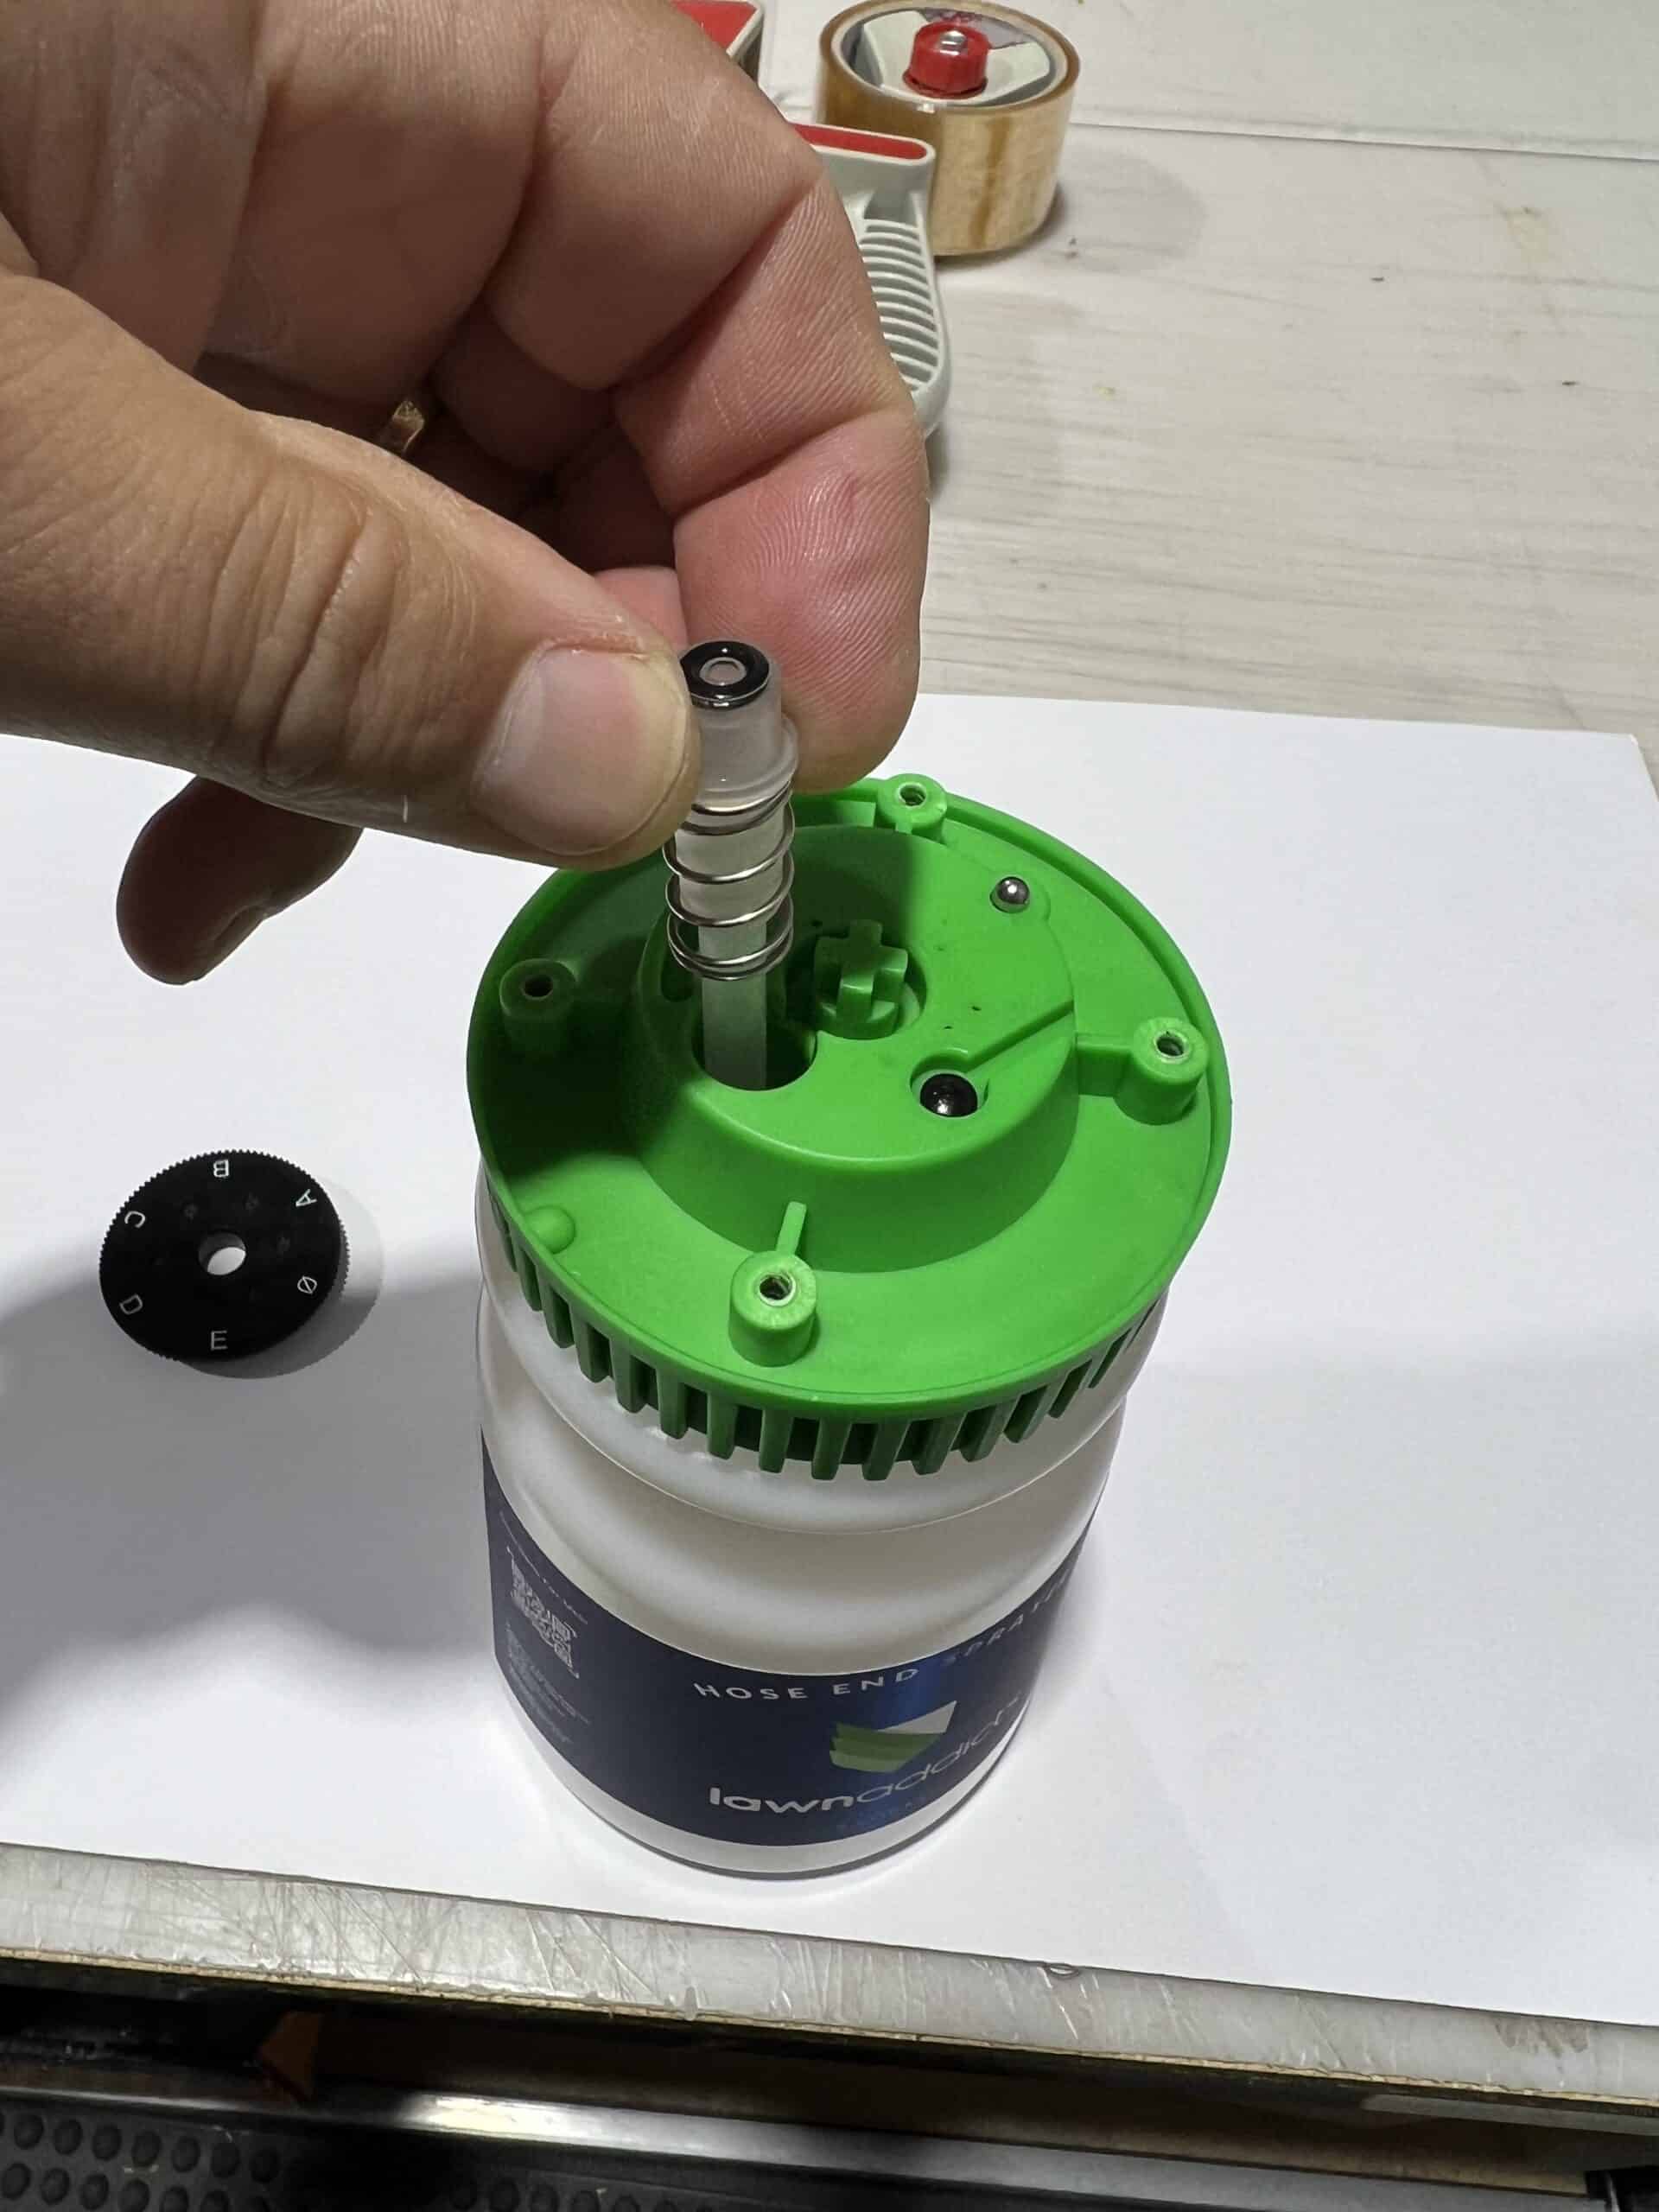
Lift the pick up straw and clean around the assembly to be sure the spring a not fouled up and free to work, it is responsible for positioning the pickup strainer firmly at the of the reservoir. Be sure not to damage the O-ring.
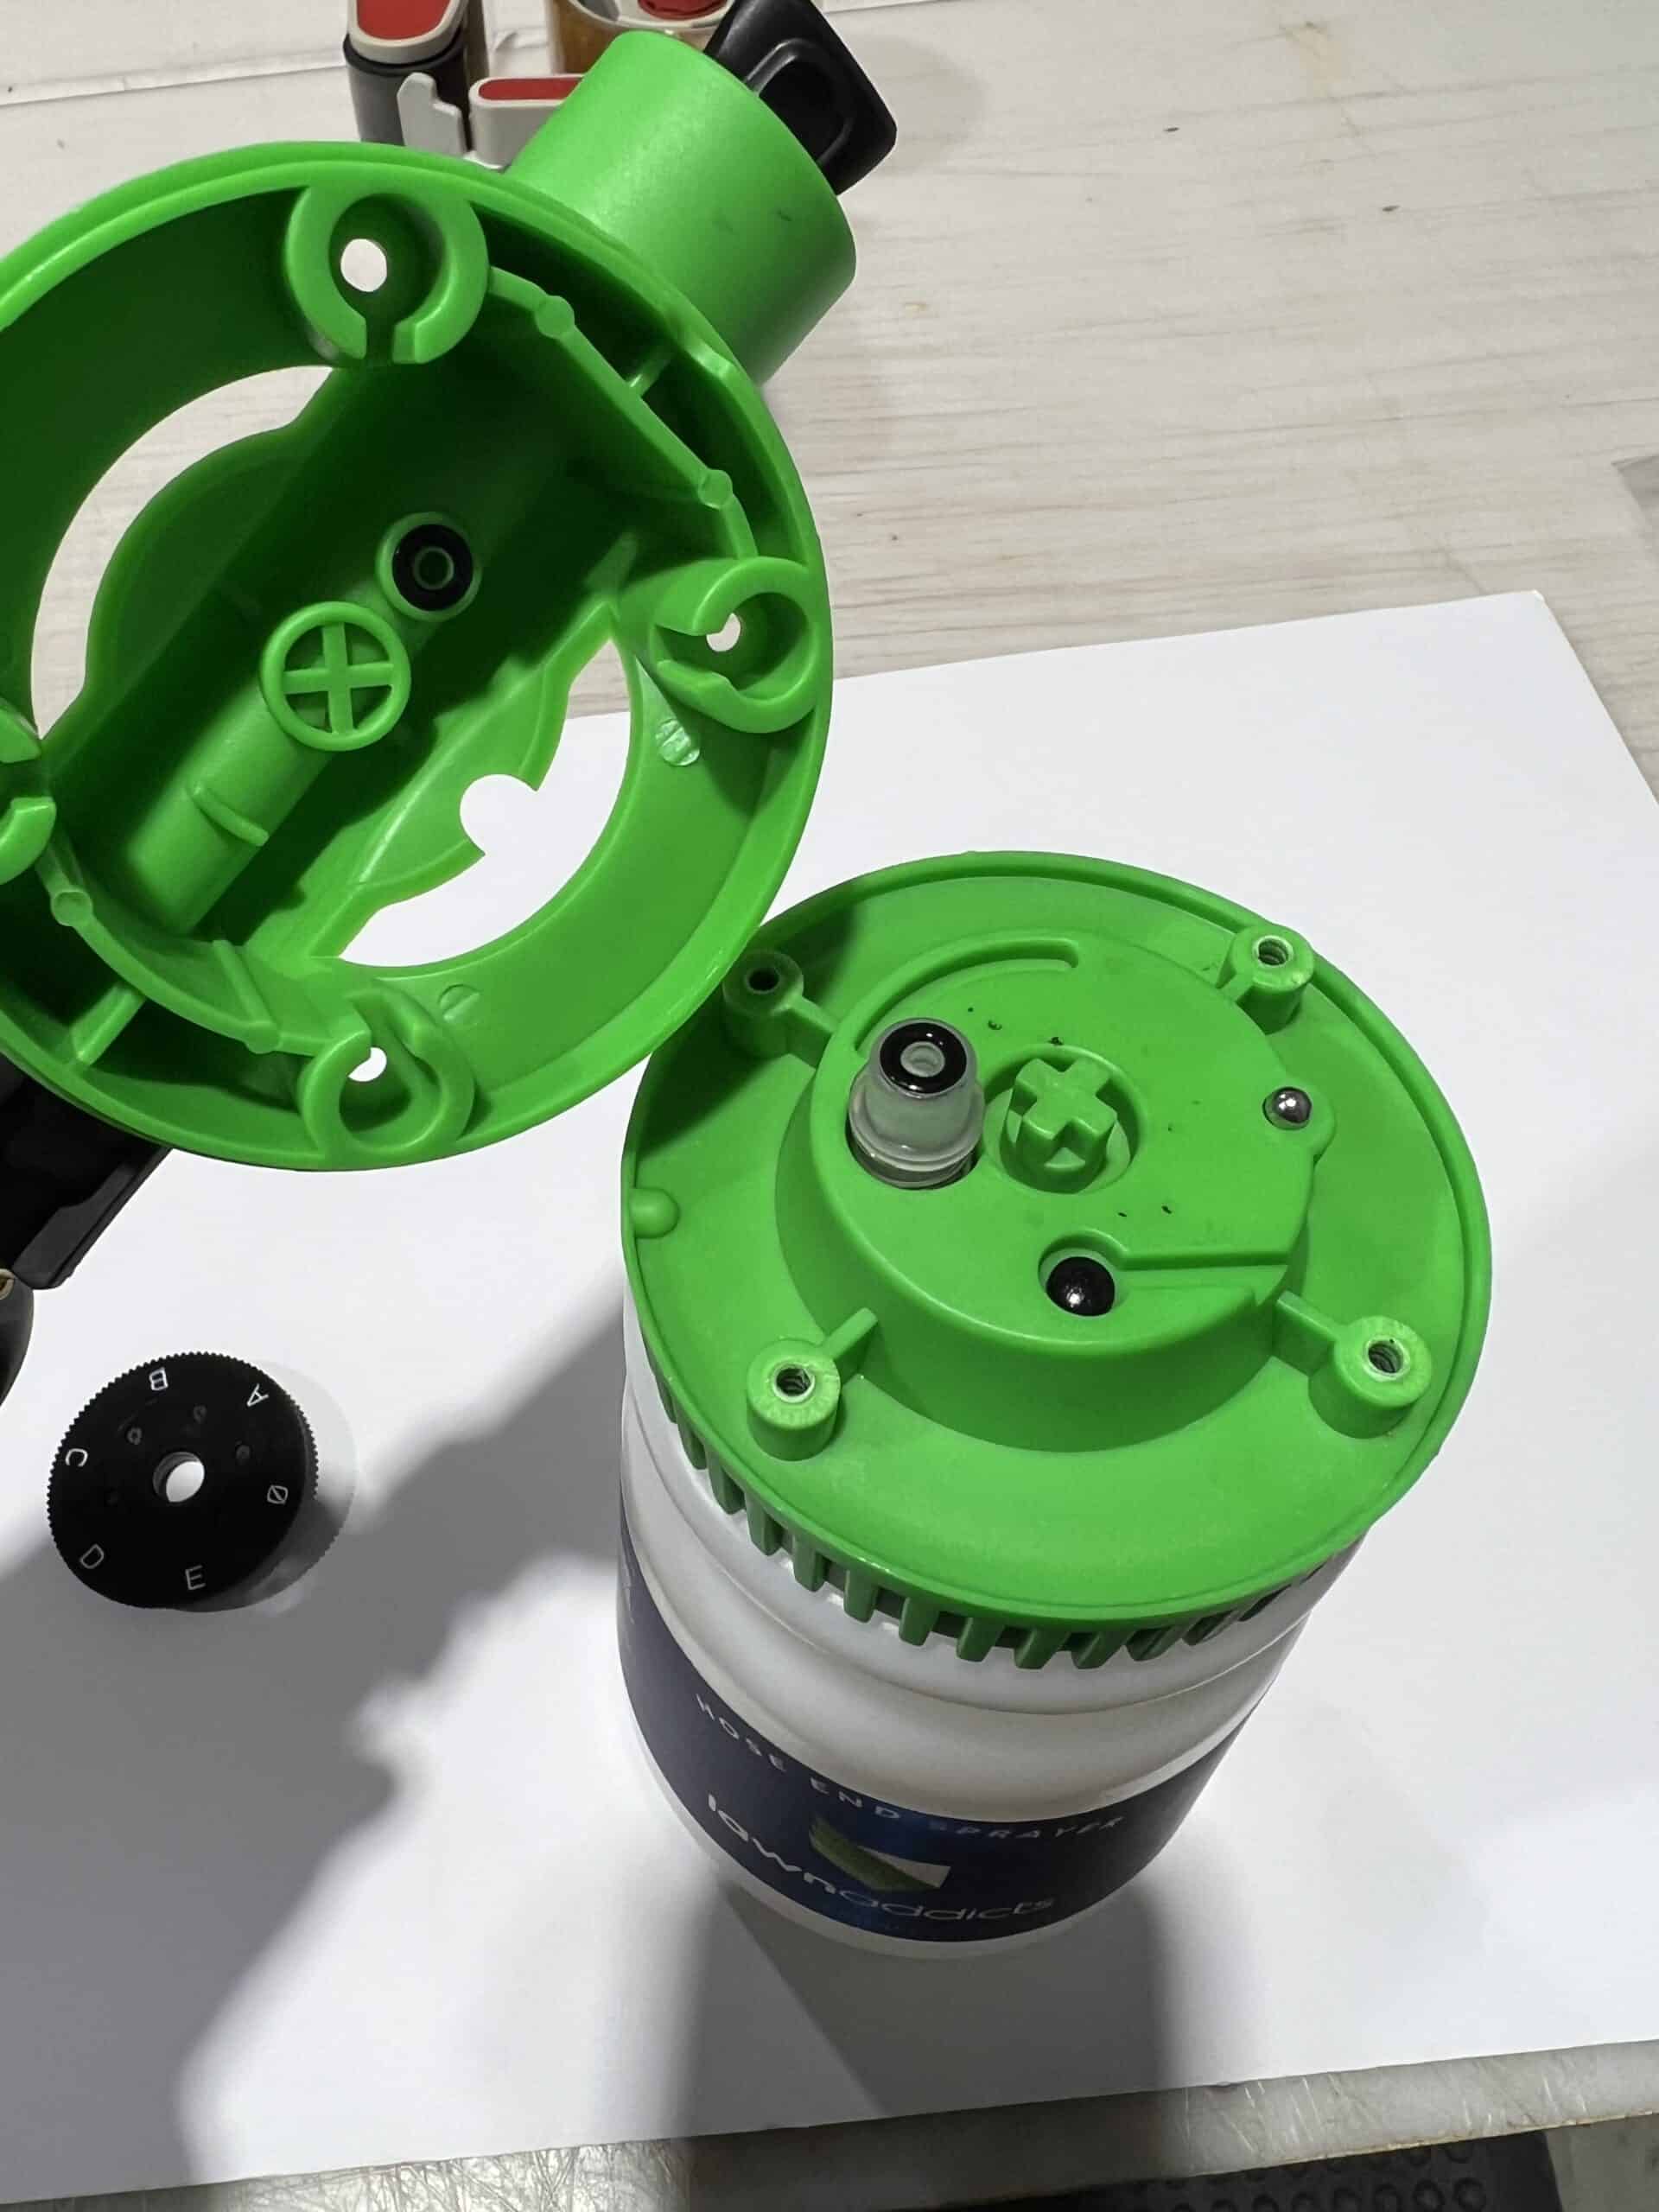
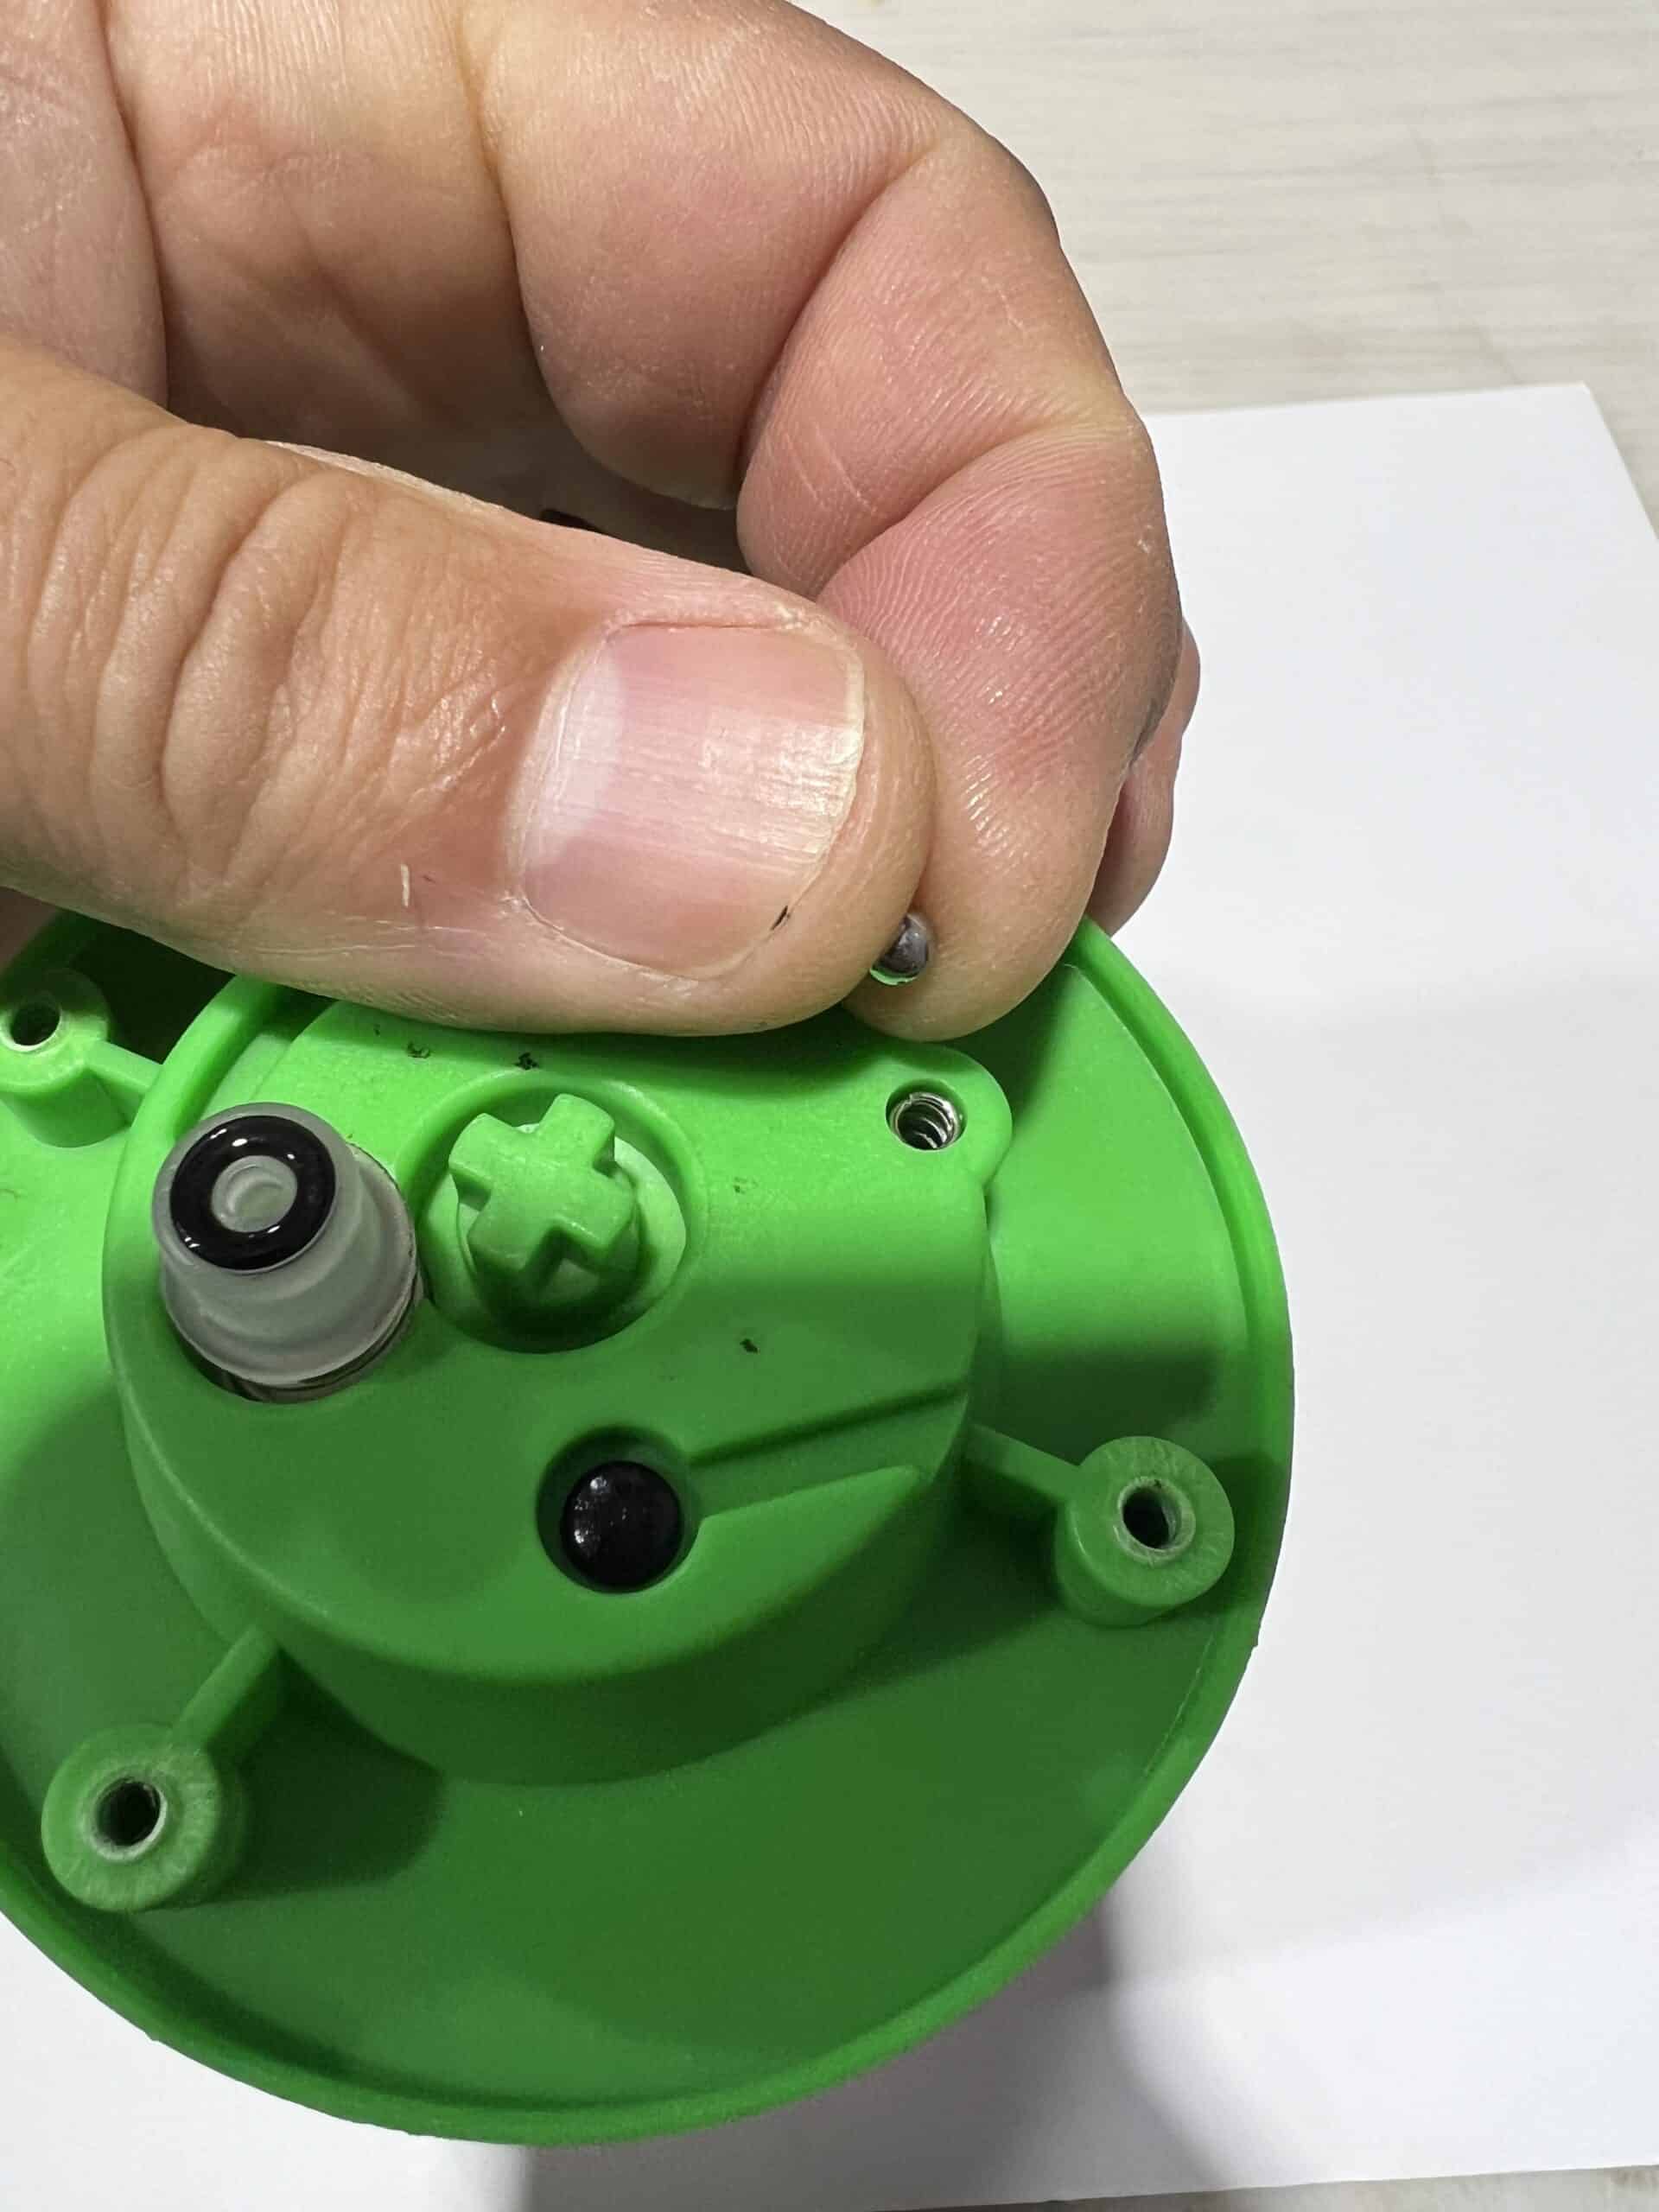
Inspect the O-rings and clean and lubricate with an O-ring grease if necessary.
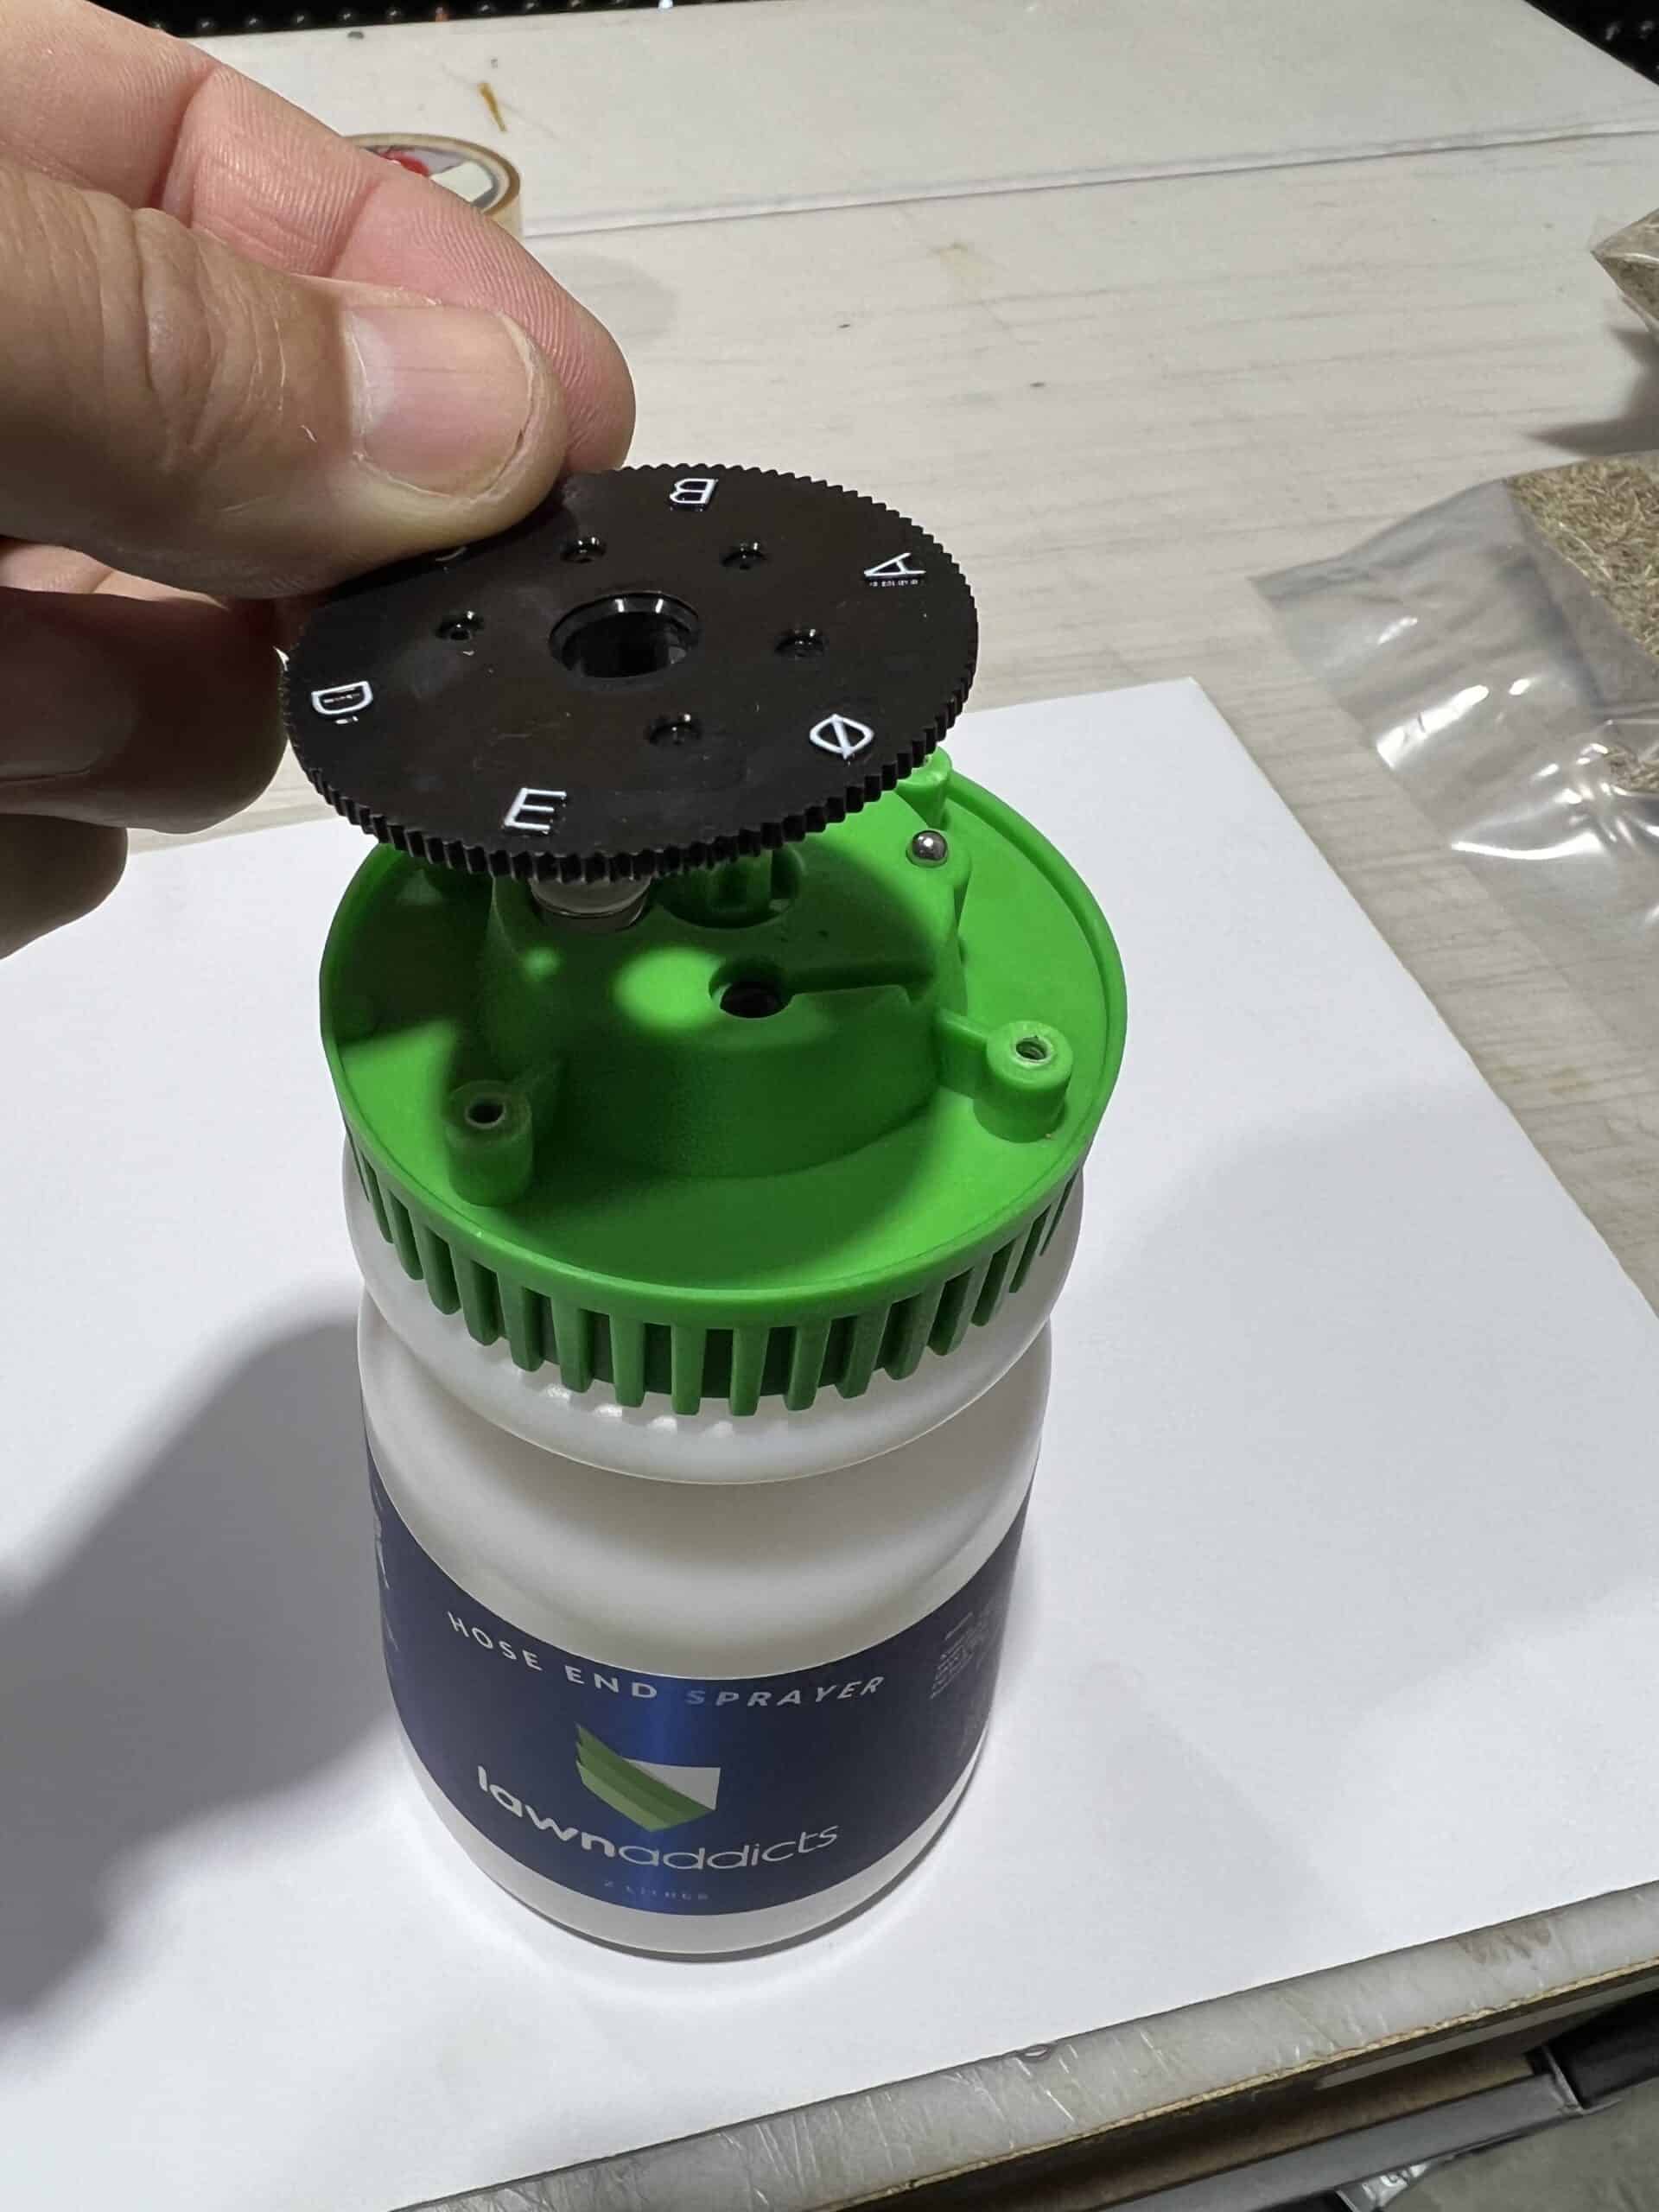
Once cleaned start reassembly by ensuring the ball is in position and gently lowing the Disc on the base and holding it there.
The top assembly can only go one way, there is a male nipple on the base and female notch on the nozzle size on the top, these need to be lined up.
Once in place fasten it back together with the screws and tighten gently.
Regular maintenance and care will keep functionality of your Calibrated Hose On Sprayer for many years.
If you have any question please do not hesitate contacting Lawn Addicts.